User:Massimo
he FOREWORD
All the Kdenlive features not treated in this document (as for eg. Keyframes implementation) are already completed or near to be.
SUMMARY
KEYBOARD SHORTCUTS
ADVANCED TRIMMING TOOLS
INSERT EXTRACT OVERWRITE AND LIFT OPERATIONS (Just improved)
AUDIO WORKFLOW
CLIP SPEED (Just implemented)
TRANSITIONS
MULTICAM EDITING
TITLER (Just improved)
PHOTOGRAPHIC LAYERS IMPORT
GENERATORS (Just implemented)
MATCH FRAME (Just implemented)
PREVIEW RENDERING
NESTING (Just improved)
EXTERNAL MONITOR
COLOR CORRECTION (Just improved)
FILTERS
ALPHA CHANNEL MANAGEMENT
SUGGESTIONS
CONCLUSIONS
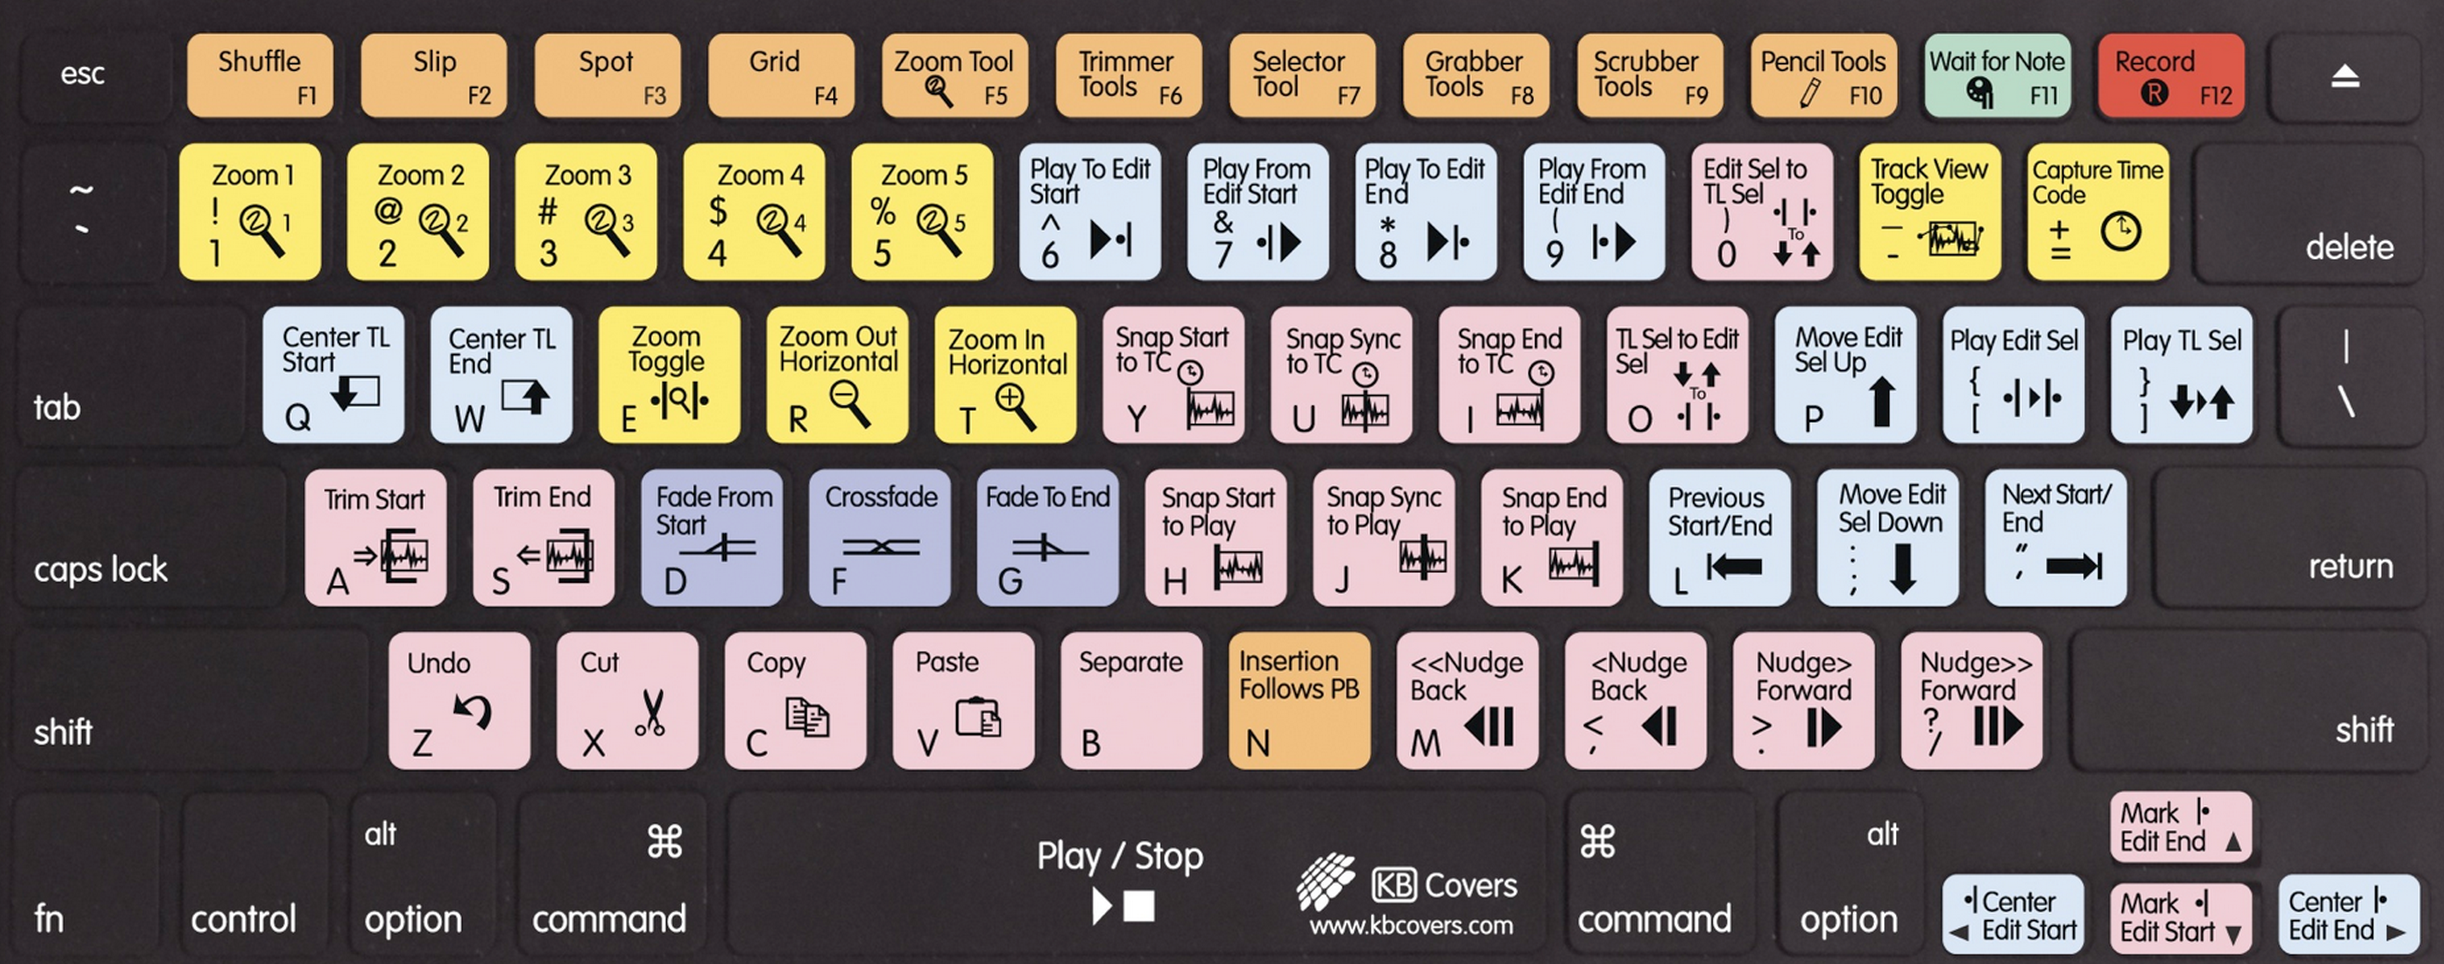
KEYBOARD SHORTCUTS
During the first Kdenlive café we talked about to open a page about keyboard shortcuts. Someone said that professionals won't use Kdenlive because without the right shortcuts the job isn't fast enough. I'm a professional video editor who wants to sustain Kdenlive development so I studied the problem but, as I wrote in the chat during the Café, we don't miss the shortcuts but the functions (insert and extract with IN OUT point as references, a good trimming window and all the 4 different kinds of trimming functions.) As a first step, I checked again how the main professional systems I used in the past (AVID, Premiere and FCP) are mapped. For the moment, my first list for basi functions is this one:
IN: I
OUT: O
Go to IN: Q
Go to OUT: W
PREVIOUS EDIT: A
NEXT EDIT: S
Go at the beginning of the timeline or of a clip: HOME
Go at the end of the timeline or of a clip: END
Next Frame: RIGHT ARROW
Previous Frame: LEFT ARROW
Delete IN: D
Delete OUT: F
Delete IN and OUT: G
Play Pause: Space
Stop Pause: K
Play: L (for multispeed press more times L, for 50% slow motion press Shift+L)
Play backward: J (for multispeed press more times J, for 50% slow motion press Shift+J)
INSERT: V
OVERWRITE: B
LIFT from IN to OUT point: Z (this function still miss)
EXTRACT from IN to OUT point: X (this function still miss and in FCP and Premiere X is used for cutting at the editline position)
Standard video or audio TRANSITION: Shift+D (you have to be with the edit line between two clips and we need single track video and audio transition function)
ZOOM IN: T
ZOOM OUT: R
RENDER: ENTER
NEW BIN: N
Menu Acess: Alt+letter for the menu (but you never use menu during editing. You use it for preparing the project and for managing the editor program)
MATCH FRAME: M
AVID

Premiere Pro
FCP

ADVANCED TRIMMING TOOLS
ROLLING
A rolling action trims adjacent OUT and IN points at the same time by an equal number of frames. When you perform this action you move the edit point between clips, keeping the position of the clips on the track and preserving the total duration of the sequence.

RIPPLE
A ripple action trims a clip and shifts following clips in the track by the number of frames you trim. When you shorten a clip by this action all clips that follow the cut shift back in time, contrariwise, when you extend a clip the clips after the cut shift forward in time. If an empty space is on the track it behaves as a clip and it shifts in time as a standard clip would be.
SLIP
A slip action shifts, in a single operation, the IN and OUT points of a clip forward or backward by the same number of frames by keeping the original duration and without affecting adjacent clips.

SLIDE
A slide action shifts a clip in time and trims adjacent clips for compensating the move. When you perform this action the IN and OUT points and the duration of the clip that you move remain unchanged while the OUT point of the previous clip and the IN point of the following clip are trimmed by the number of frames you shift the clip.

All these operations are possible in AVID, FCP and Premiere by using the keyboard. A trimming window is useful for checking how the new in out point match with the previous and following edit cuts.
I know that in Flowblade ROLLING, RIPPLE and SLIP trimming functions are already implemented. I don't know if it can be useful because Flowblade and Kdenlive are both based on MLT but Flowblade is written in Python and not in C++ as Kdenlive is. Anyway here you can find the code that Flowblade uses for these trimming operations:
https://github.com/jliljebl/flowblade/blob/master/flowblade-trunk/Flowblade/trimmodes.py
TRIM WINDOW AND TRIM PREVIEWS
In all major video editing systems, we can find a trim window or a trim mode where the clip window and the program become the trim interface. These tools are very useful for these reasons:
1. It gives you access to control the trim by keyboard (frame by frame control, 5 or more frames control, depending on the software, and jog function in both directions).
2. It allows switching between different modalities (rolling, ripple, slip and slide)
3. In rolling and ripple modes you can watch simultaneously the new IN and OUT point of both clips so you can decide where is the best point for the new cut.


4. In slip and slide modes you can watch the OUT point of the previous clip, the IN and the OUT points of the clip you are trimming and the IN point of the following clip. (Slip mode it's very useful for news and documentary editing on speech or interview)

INSERT EXTRACT OVERWRITE AND LIFT OPERATIONS
Even if I'm pretty sure everybody knows the differences between these operations I'll try to make a short recap:
- INSERT: in AVID is called also Splice-in operation. It is when you insert marked source material into the timeline without replacing material already in the sequence. Existing material moves beyond the spliced material, lengthening the overall duration of the sequence or of a track.

- EXTRACT: is the opposite operation. You remove selected material from a track in the timeline and automatically close the gap. When you extract material, you shorten the duration of the track or sequence.

- OVERWRITE: replaces a section in the timeline with the selected source material. An overwrite edit replaces existing material and does not lengthen the overall duration of the sequence unless the material used to overwrite goes beyond the end of the sequence.

- LIFT: removes selected material from a track in the timeline and leaves a gap.

Each software has different ways to perform these operations. The first difference is the way they set target tracks.
In AVID, you have a panel on the timeline head with buttons which represent the source (1 video button and a number of audio buttons equal to the number of the audio channels) you have to move near the target tracks. Then you have to activate/deactivate (arm the tracks) the tracks you want to work on.
On Premiere and FCP (even if in the latest version Premiere works same as AVID) you have source buttons too to align to target tracks but instead of to activate or deactivate tracks you have to lock or unlock them. The operation you perform act on all tracks except the ones you locked.

I guess this can be the way Kdenlive could work because its development is already in this direction. At today, you can select a target track and you can lock tracks. The problem is that the action is performed only on the target track and you can't control the audio. (About the audio workflow I'll express my opinions later)
When you perform an INSERT or an EXTRACT operation you have to decide not only the target tracks but also other tracks you want to cut, for inserting materials or a blank space, or, if you perform an extract, where to remove the gap. For eg: if you want to insert a small part of an interview in the middle of a scene edited by 1 video track, 2 video tracks with graphics and 4 audio tracks (environmental sounds, sounds efx and music) you have to open a gap on all tracks. If you don't want to stop the music you have to create a gap on all tracks except the one where music is. And so on.
During an OVERWRITE or a LIFT operation, you can overwrite video and audio and also remove materials in other tracks by overwriting them with a blank space. For eg: I want to substitute a video clip, an audio track and I want to delete audio efx or music which correspond to the previously edited scene. Or I want to remove, by leaving a gap in the timeline, all the materials which correspond to a previously edited scene and that they are on several different tracks.
For selecting the time position where to perform the actions, we have two ways: the first is to use the IN and OUT point on the timeline so we can remove, or fill, or replace, or let a blank area where indicated. The second way is to start from the point where the edit line is: in this second situation we can only perform an INSERT or an OVERWRITE operation. The clip length is determined by the selected area of the clip in the source window.
NOTE: now we have 2 new functions: Extract and Lift which work on all unlocked tracks very well. The Insert and Overwrite functions finally have a super easy 3 Point Edit approach. Insert/Overwrite functions work as well on all unlocked tracks and they put the clip on the target track. When you use the audio video separation now you can set both the target tracks for video and audio. You can do it by selecting the track you want to use and by pressing the Shift+T shortcut for enabling and disabling it as the target. If just the video or the audio target is selected you will put only the video or the audio on the timeline. If no target is selected you'll create an empty space on the timeline. If a track is set as the target the Led indicator will turn green. If the track is locked the Led will turn Red. If some of the mute options (mute video or mute audio) are turned on the Led will turn yellow. More, by pushing the Shift+Ctrl+L you can "Un/Lock all but current" track.
- 3 POINT EDITING
Three-point editing is a way to insert or overwrite a clip from the source window into a destination track in the timeline. To perform it you have to set three edit points:
you can set the IN and OUT points of the clip in the source window and the IN point on the timeline which indicates where to insert/overwrite the clip or the IN and OUT points in the timeline that the clip will fit into and the IN point in the source window which indicates the starting point of the clip to insert/overwrite.
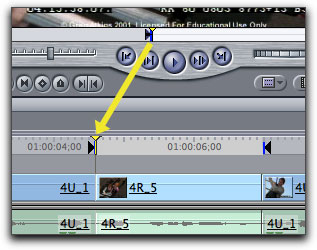
3 point edit in Final Cut Pro
NOTE: now you can choose if you want to insert the clip zone you selected in the clip monitor or if you want to fill the zone you selected on the timeline. You just have to toggle, by a simple button on the timeline head, the "Use Timeline zone for insert" feature. When it's disabled you insert/overwrite the selected clip zone at the edit line position otherwise you fill the selected timeline zone.
AUDIO WORKFLOW
In professional workflows, audio is always produced inside the video editor application except only for high budget fiction products (where you edit the live audio in the video editor and you use applications as ProTools for adding music and efx and creating the final 5.1 surround master). In tv stations when the editor ends the job he delivers the content with a peak between -20db and -10db then, during broadcasting, the audio track passes through a compressor before to be normalized. For this reason, every professional video editing system has a strong and complete audio workflow integrated. Then by the fact that today even small company can provide DCP contents to movie theaters (mostly are advertisements but not only), video editor apps integrate also 5.1 surround panners.

The audio workflow it's based on two main tools: the timeline and the audio mixer. On the timeline, the editor sets the volume automations, places transitions and uses filters for some minor effects. By the mixer, he sets the volume, the pan and the filters for each track and he premixes some tracks by using busses (or submixes as they are called in Premiere).
TIMELINE WORKFLOW - Automations: in my experience the best way to creates automations in video editor apps is to cut the audio track where you have to make an automation, then you put a crossfade audio transition (which in all professional applications you can use on single track) and lift up or down the gain of the clip you have to modify. This technique is the fastest way to create automations on