Video Subtitles: Difference between revisions
No edit summary |
|||
| Line 4: | Line 4: | ||
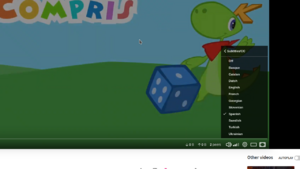
[[File:PeerTubeSubtitles.png|frameless|center|alt=A screenshot of a video on PeerTube showing multiple different languages subtitles in a list.]] | [[File:PeerTubeSubtitles.png|frameless|center|alt=A screenshot of a video on PeerTube showing multiple different languages subtitles in a list.]] | ||
With closed captions and translated subtitles, you will make your videos more accessible to more people. The default should be to always include them. | With closed captions and translated subtitles, you will make your videos more accessible to more people. The default should be to always include them. | ||
| Line 17: | Line 15: | ||
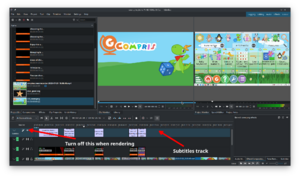
* When rendering, **turn off** the visibility of the subtitles track, otherwise Kdenlive will be hardcode the subtitles into your video and make subtitles in other languages, superimposed during playback, difficult to read. | * When rendering, **turn off** the visibility of the subtitles track, otherwise Kdenlive will be hardcode the subtitles into your video and make subtitles in other languages, superimposed during playback, difficult to read. | ||
[[File:KdenliveSubs.png|frameless|center|alt=A screenshot of Kdenlive showing the subtitle track.]] | |||
===Checking your Subtitles=== | ===Checking your Subtitles=== | ||
| Line 23: | Line 21: | ||
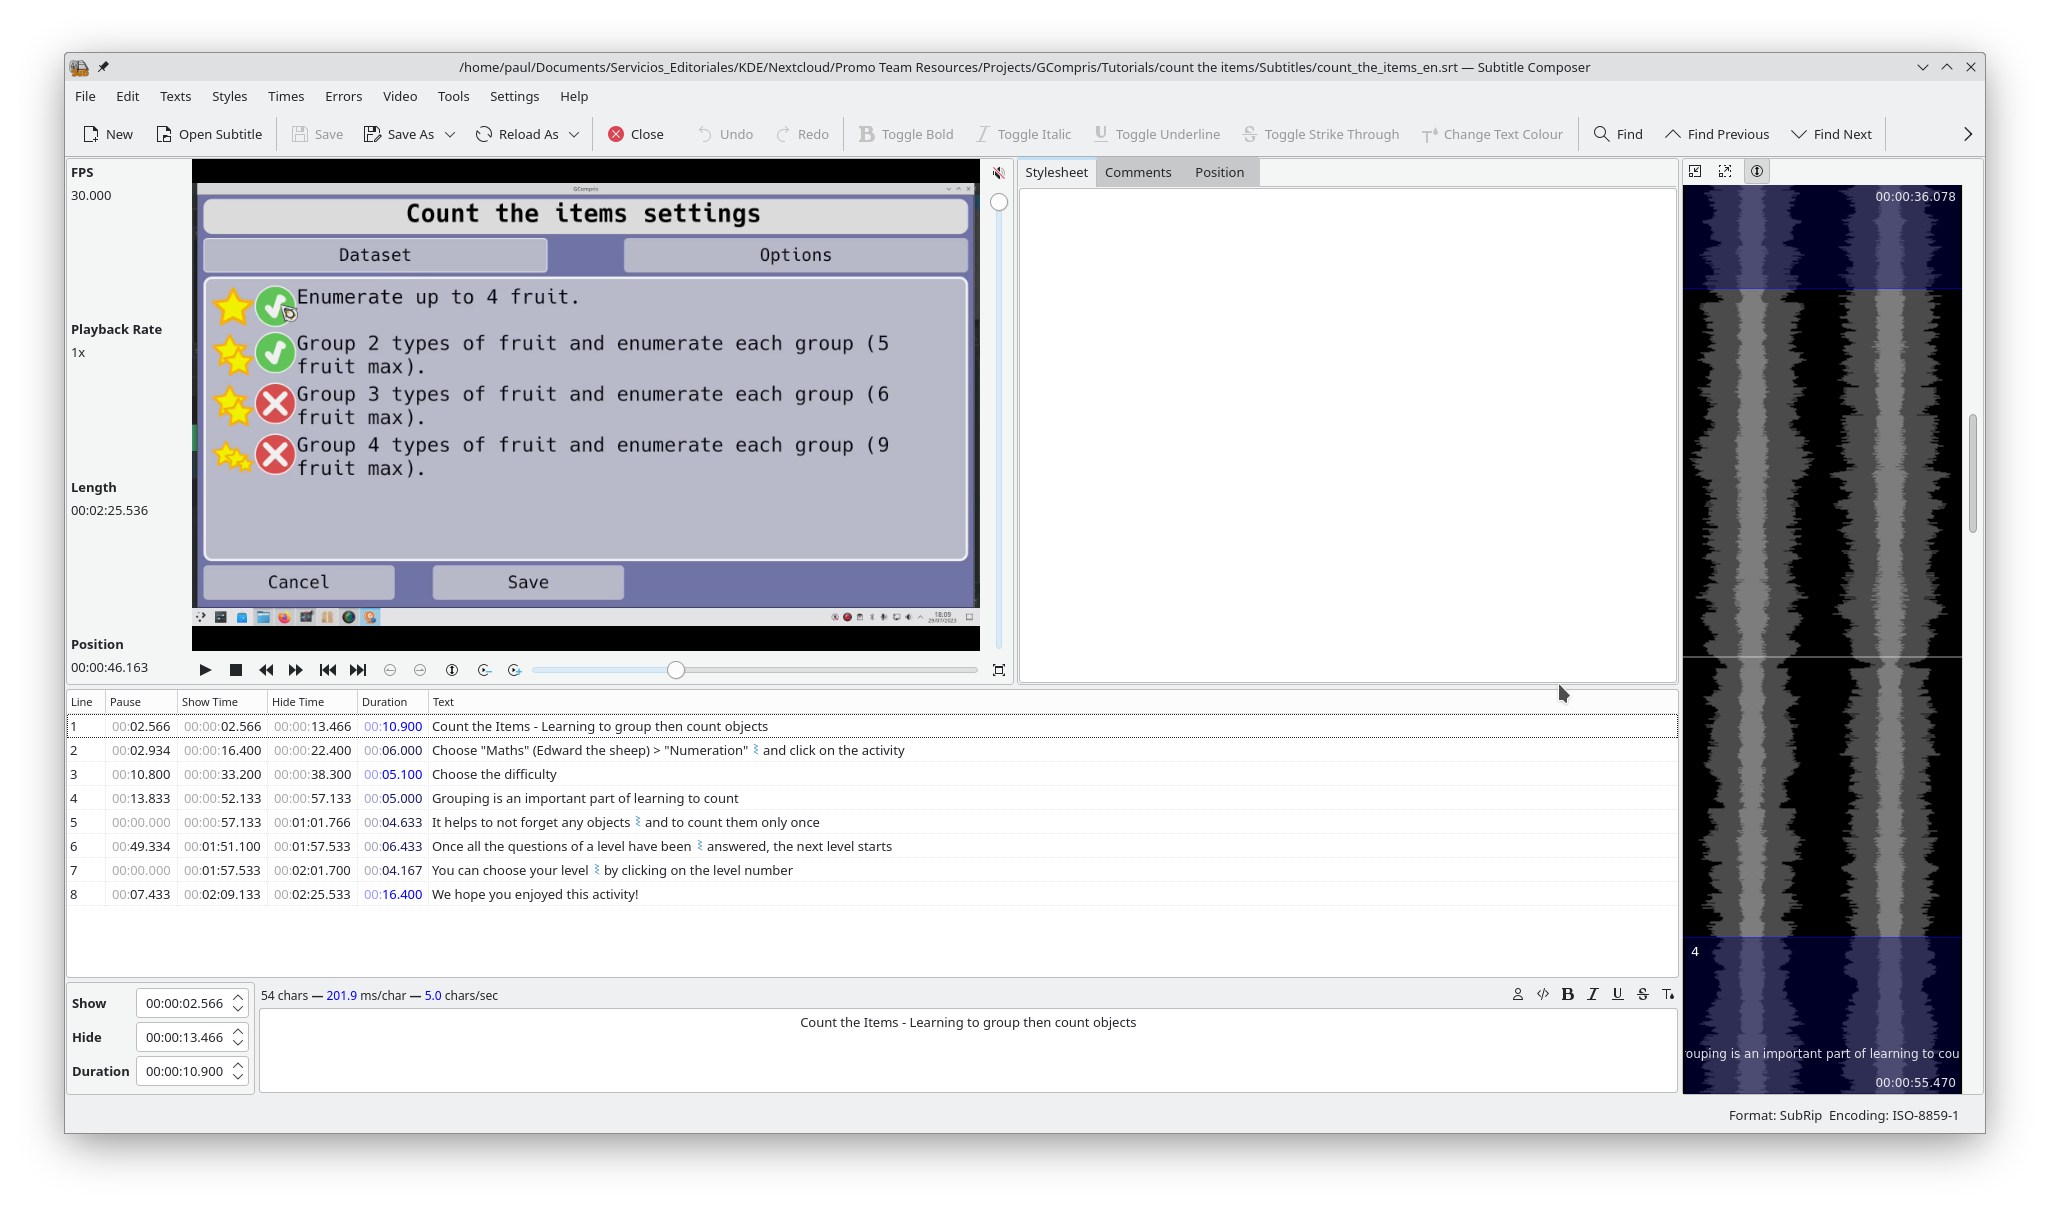
* It is a good idea to revise your subtitles in [https://subtitlecomposer.kde.org/ Subtitle Composer], as it offers a very intuitive and easy-to-use interface that will help you do that. | * It is a good idea to revise your subtitles in [https://subtitlecomposer.kde.org/ Subtitle Composer], as it offers a very intuitive and easy-to-use interface that will help you do that. | ||
[[File:SubtitleComposer.png|frame|center|alt=A screenshot of Subtitle Composer, a useful app for editing subtitles]] | |||
* When you are done, save your subtitles. We recommend you use the same name as the video file it will be used for, but with the *.srt* extension. For example, if your video file is called ''gcompris_tutorial_04.mp4'', make your subtitle file ''gcompris_tutorial_04.srt''. | * When you are done, save your subtitles. We recommend you use the same name as the video file it will be used for, but with the *.srt* extension. For example, if your video file is called ''gcompris_tutorial_04.mp4'', make your subtitle file ''gcompris_tutorial_04.srt''. | ||
Revision as of 21:39, 10 October 2023
HOWTO add Multiple Subtitles to your Videos
This document explains how you can use the power of KDE community's i18n volunteers to translate subtitles or closed captions for your videos.

With closed captions and translated subtitles, you will make your videos more accessible to more people. The default should be to always include them.
Creating your Subtitles
- You can create a subtitles file in Kdenlive, either by using the different voice recognition plugins Kdenlive supports, or be pasting and copying from your script.
Note that it is best to start with a base subtitle file in English, as this is the language most translators will be able to translate from. We will assume from now on your original subtitle file is in English.
- Saving the Kdenlive project will create an SRT file you can then pass on to the translators later.
- When rendering, **turn off** the visibility of the subtitles track, otherwise Kdenlive will be hardcode the subtitles into your video and make subtitles in other languages, superimposed during playback, difficult to read.

Checking your Subtitles
- It is a good idea to revise your subtitles in Subtitle Composer, as it offers a very intuitive and easy-to-use interface that will help you do that.

- When you are done, save your subtitles. We recommend you use the same name as the video file it will be used for, but with the *.srt* extension. For example, if your video file is called gcompris_tutorial_04.mp4, make your subtitle file gcompris_tutorial_04.srt.
- Although underscores (_) are fine, make sure your subtitle filename does not contains spaces, dashes (-), commas, colons, or other characters that could make the scripts choke.
Uploading
- Make sure you have already uploaded your video to PeerTube and YouTube and you have the links to both.
- Upload your SRT file to the correct project folder at https://invent.kde.org/websites/video-subtitles. If you are starting a new project for a new channel, create a new folder, but first read How to create a new project directory carefully below.
- For each new SRT file, you will have to create a JSON file. This file will have the same name as the SRT file, but with the *.json* extension. Hence, the JSON file for gcompris_tutorial_04.srt will be gcompris_tutorial_04.json.
- The JSON file will contain the unique identifier for the video on PeerTube and YouTube. You can find the identifier in the videos' URLs.
For example, for a video hosted at https://tube.kockatoo.org/w/symxHCzUj9TA7LZoZagD9c on PeerTube, the identifier is symxHCzUj9TA7LZoZagD9c. For the same video on YouTube located at https://www.youtube.com/watch?v=W2iyYU1ZeKI, the identifier is W2iyYU1ZeKI.
Add these lines to gcompris_tutorial_04.json:
  {
      "pt_id": "symxHCzUj9TA7LZoZagD9c",
      "yt_id": "W2iyYU1ZeKI"
  }
- You will also need to modify the license file *dep5* which you will find in the https://invent.kde.org/websites/video-subtitles/-/tree/master/.reuse folder and add the following for your new video:
  Files: gcompris/compris_tutorial_04.srt gcompris/compris_tutorial_04.json
  License: CC-BY-SA-4.0
  Copyright: 2024 John Doe <john.doe@kde.org>
- The first line indicates the two files you just uploaded/created.
- The second line indicates the license for the subtitles -- check the LICENSE folder to see what is available.
- The last line is for the name of the author/copyright holder (you?) and their email.
Check out the [example](#example) below to see how all this would work in real life.
How to create a new project directory
- PeerTube distinguishes between accounts, channels and playlists:
- An account is what allows you access your PeerTube instance and upload, edit or remove videos, start live stream sessions, etc. This is KDE's account on the PeerTube network.
- You can organise your videos uploaded to your account into channels. Each channel can have distinctive look and has its own address. The KDE Community channel contains four channels, KDE, Akademy, LabPlot and GCompris. For example, this is the location for the GCompris channel.
- PlayLists further allow you to categorise your videos or add videos from other accounts, but you can ignore them for the purpose of subtitling.
- At the moment of writing, the subtitle project has two project directories, kde, and gcompris. The names correspond to the *channels* (NOT accounts or a playlists) the video will be uploaded to.
- If you need to create a directory for your own project, make sure you name the directory exactly the same as the channel the videos will live in.
Example
Jane Bloggs has created a starter video tutorial for her Kinder project, a KDE mobile app that helps parents arrange play-dates for their young children.
During the video-editing process, Jane writes and checks her subtitles and saves them in kinder: getting-started.srt.
As she has read this document carefully, she changes all the problematic characters in the name of her file to underscores. The final name of her subtitle file ends up being kinder_getting_started.srt.
With the help of the Promo team, she uploads her video to a new channel, kinder, on KDE's PeerTube account. Once the video is uploaded, Jane makes a note of the link to the video: https://tube.kockatoo.org/w/sje7HHe3734ytfdedweuhr73.
Again assisted by the Promo team, she puts the video on YouTube, and again grabs the link from there: https://www.youtube.com/watch?v=Heury437SIJ237hdeu.
Jane creates a JSON file called kinder_getting_started.json. She opens it in [her favorite text editor](https://kate-editor.org/) and adds the following content:
  {
      "pt_id": "sje7HHe3734ytfdedweuhr73",
      "yt_id": "Heury437SIJ237hdeu"
  }
She closes and saves the file.
Jane then visits https://invent.kde.org/websites/video-subtitles/-/tree/master. As this is a new project, she creates a new directory called kinder there.
She enters the kinder directory she just created and uploads the kinder_getting_started.srt and kinder_getting_started.json files she created earlier.
Jane then moves back up to the main directory and visits the .reuse/ folder.
She locates and opens the dep5 file and adds the following lines at the end of the file:
  # Kinder files
  Files: kinder/kinder_getting_started.srt kinder/kinder_getting_started.json
  License: CC-BY-SA-4.0
  Copyright: 2024 Jane Blogss <jane.bloggs@kde.org>
and closes and commits the changes
Jane is more or less finished, but there is one final thing to do: She opens her email client and sends a thank you note to the incredible translators expressing her heartfelt appreciation for their work.
The translators will pick up Jane's subtitle file and start creating versions in their own languages which will gradually be added to her videos online over the next days.
